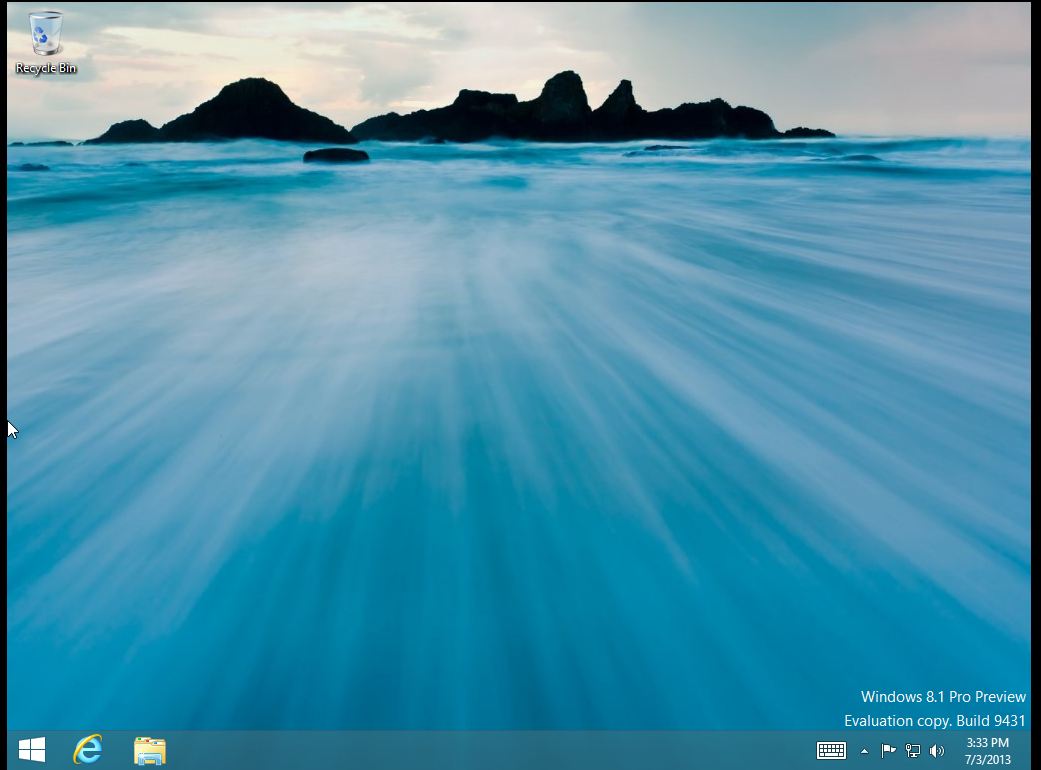
Upgrading Windows 8 to Windows 8.1 Preview

Thus far, I have not been a huge fan of Windows 8, so to troubleshoot or do testing, I keep a Windows 8 virtual machine handy. When the Windows 8.1 preview was released last week, I decided to upgrade my virtual machine. It was a very straight forward upgrade. No real glitches involved. Here are the steps: 

1. Mount the Windows 8 Preview ISO file.
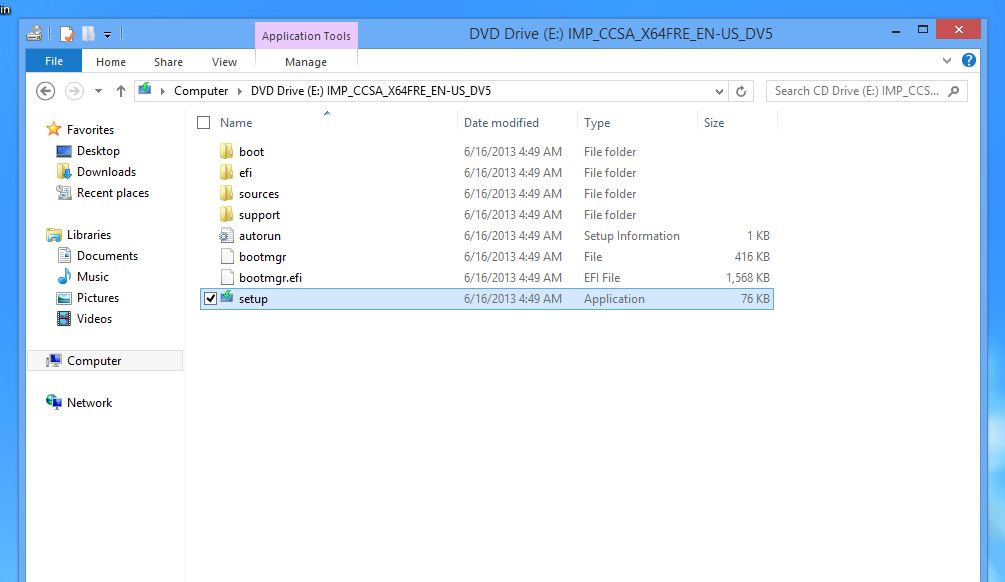
Image


2. Launch setup.exe and choose whether or not to install updates.
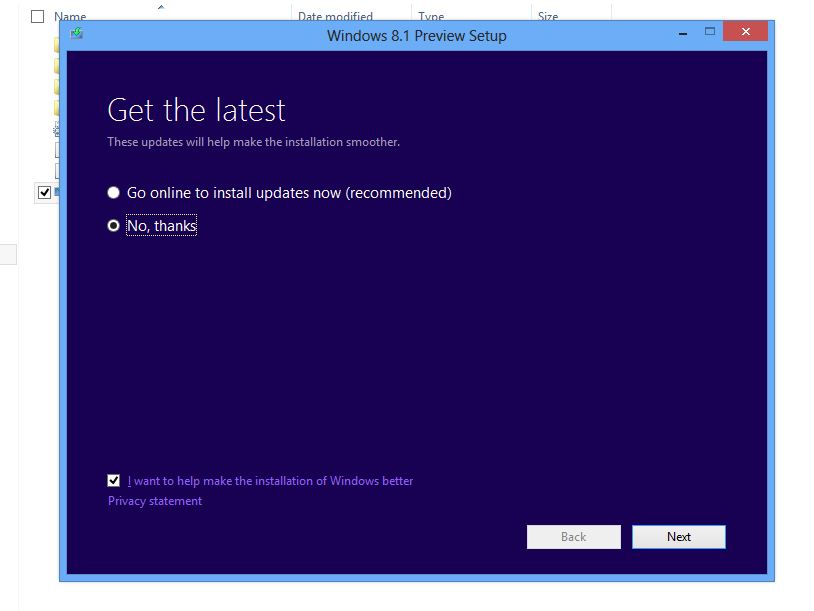
 

Image

3. Enter the license key. This can be obtained from the Microsoft site. 
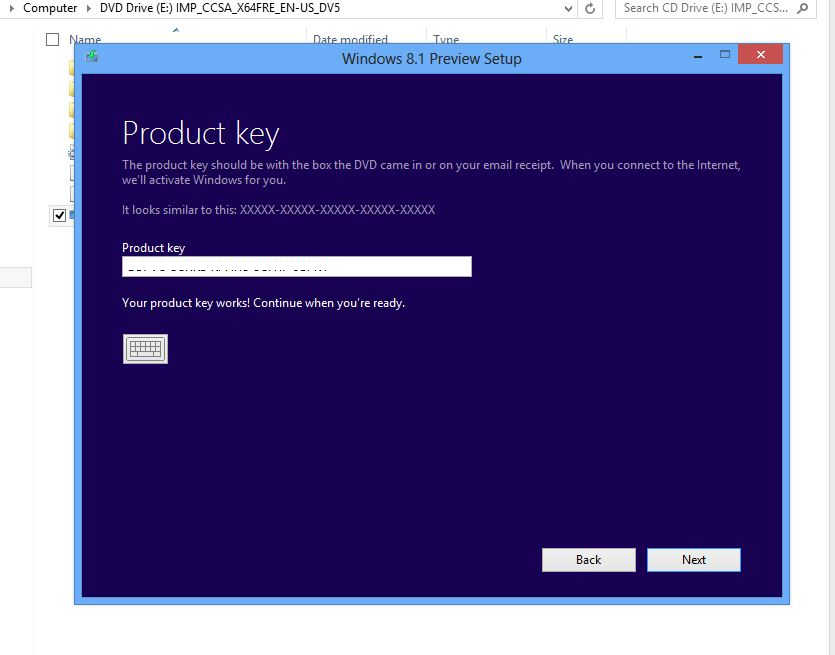
Image


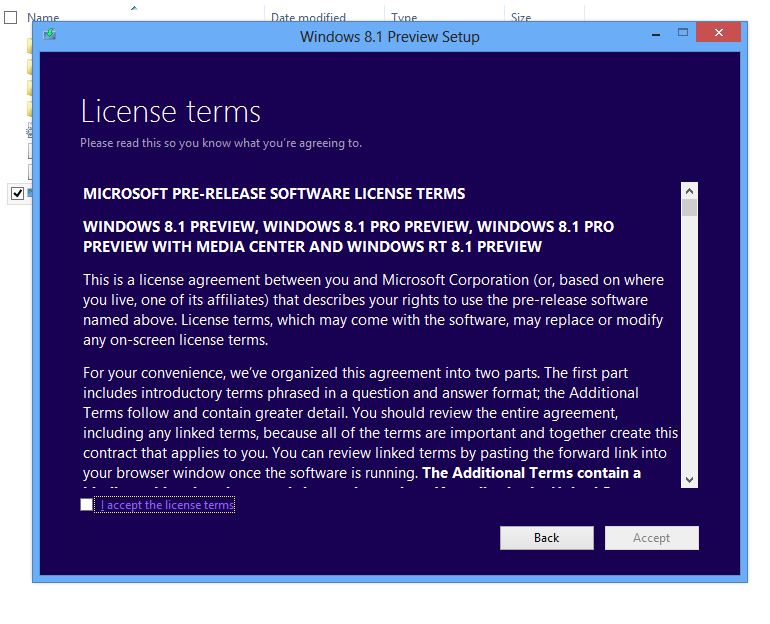
4.  Accept the license terms.


Image

5. Choose what to keep during the upgrade.
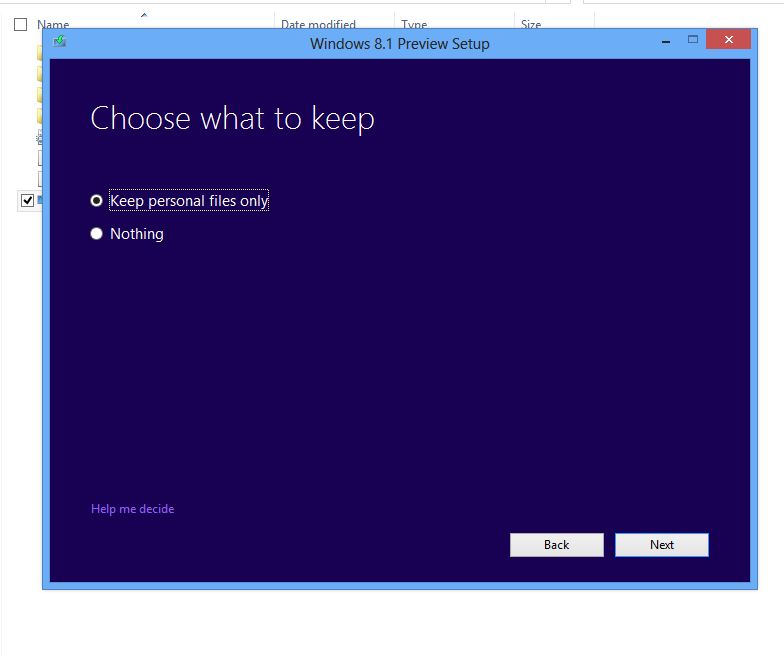
Image

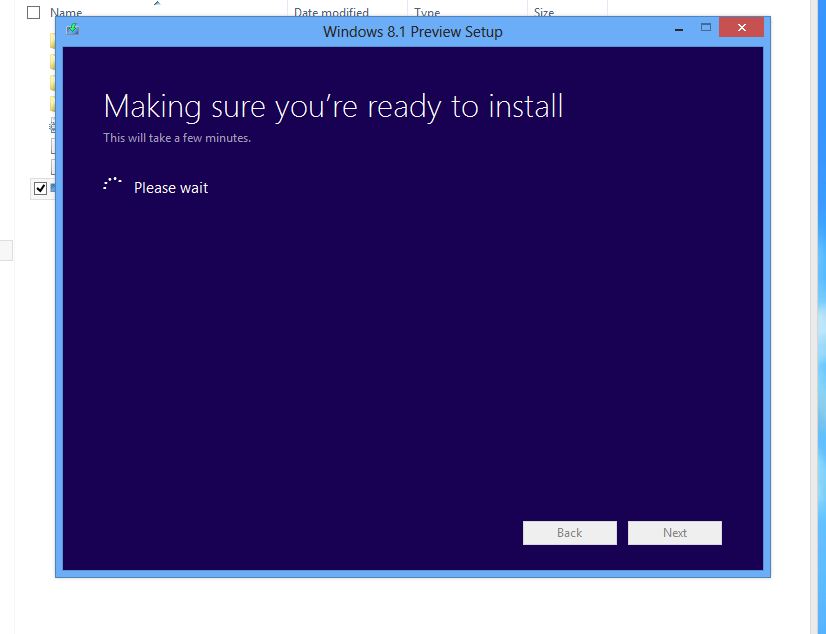
6. Performing some checks.

Image

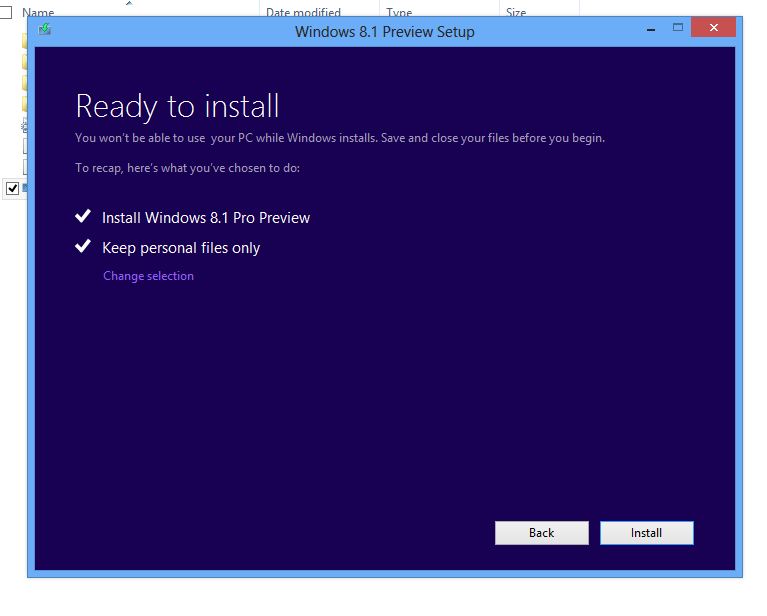
7. We’re ready to roll.

Image


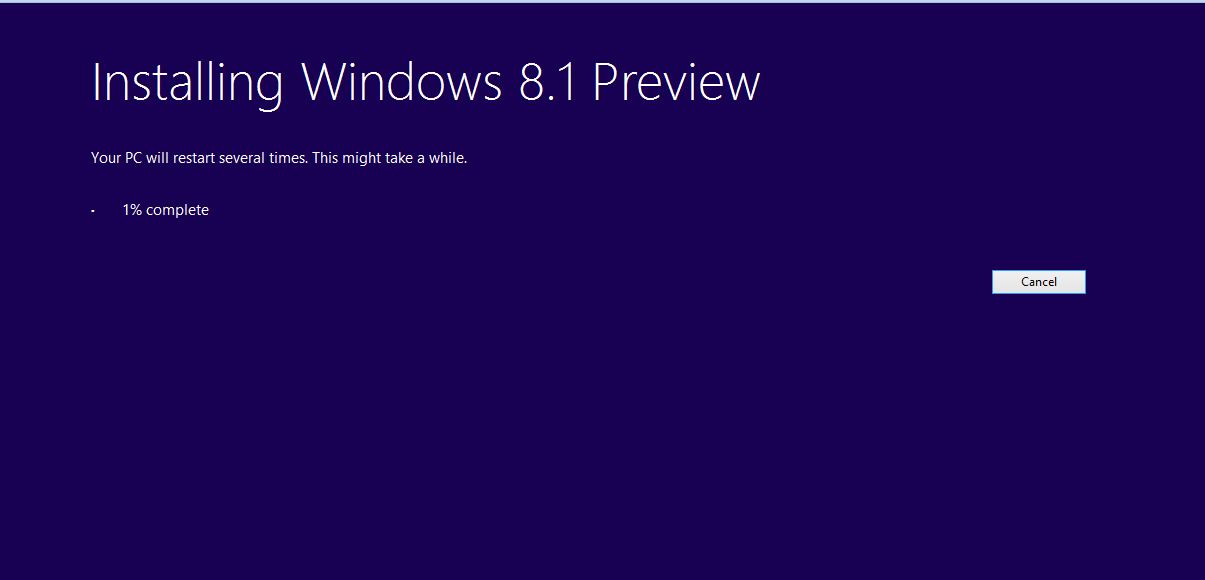
8. The installation begins.

Image


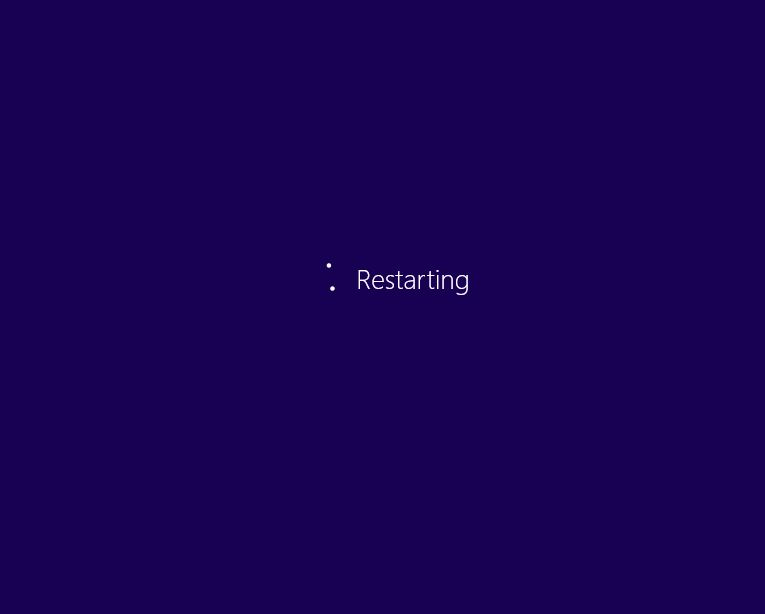
9. The machine reboots.

Image


10.  Sticking with the fish theme I see. 

Image


11. Choose your Settings: Express or Custom. 
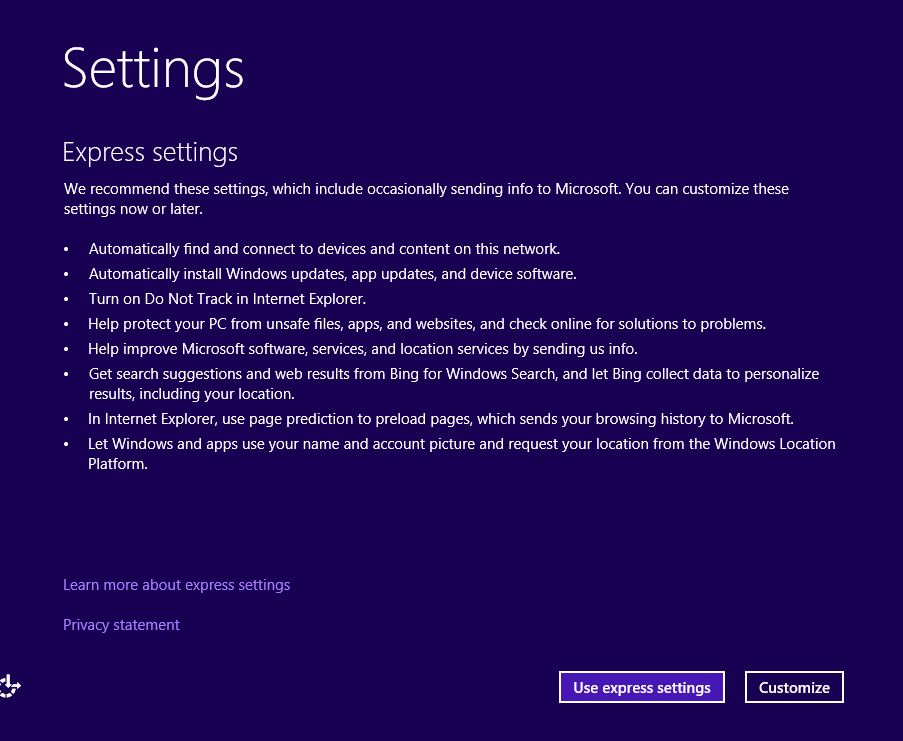
Image


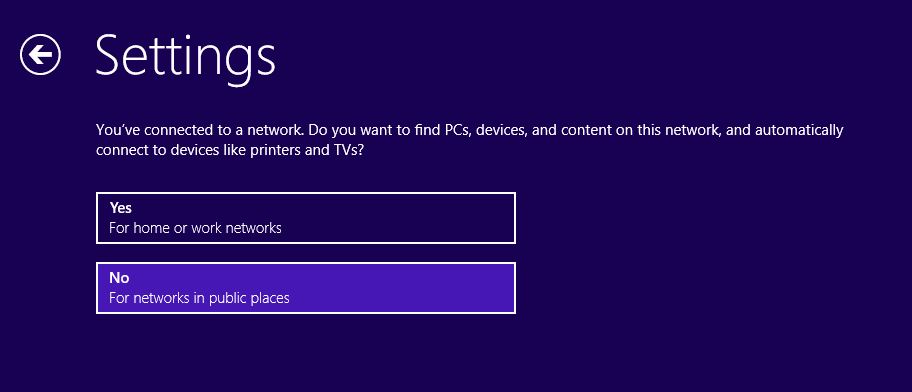
12. Network discovery choices.


Image


13. Choose your Windows update and Privacy settings.
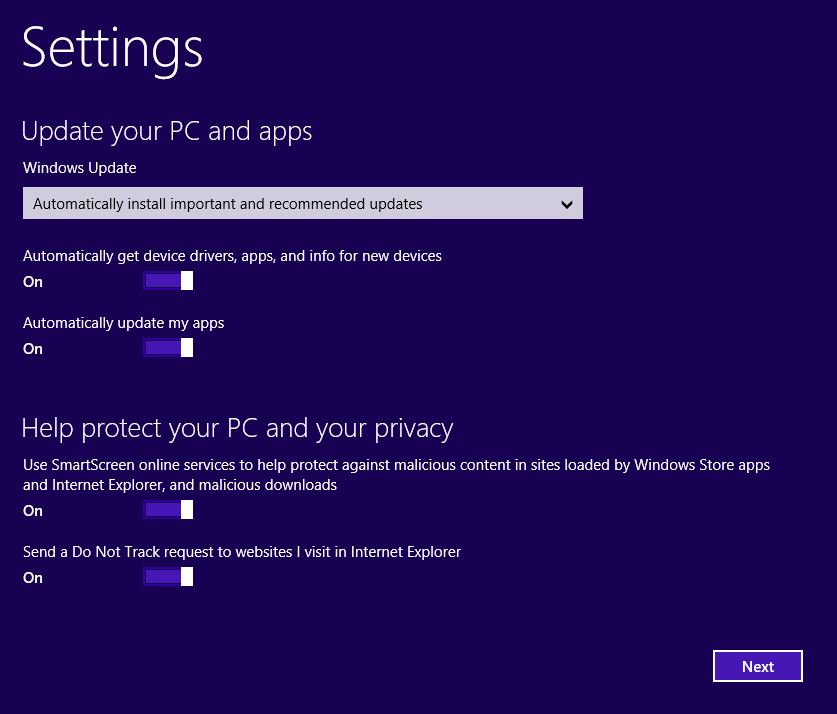
Image


14. Choose whether to share or not share info with Microsoft.
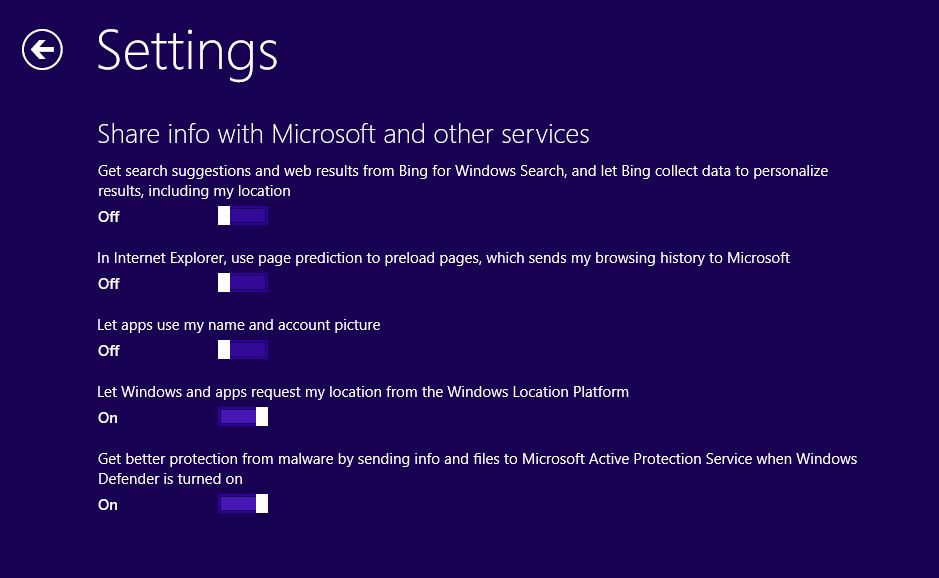
Image


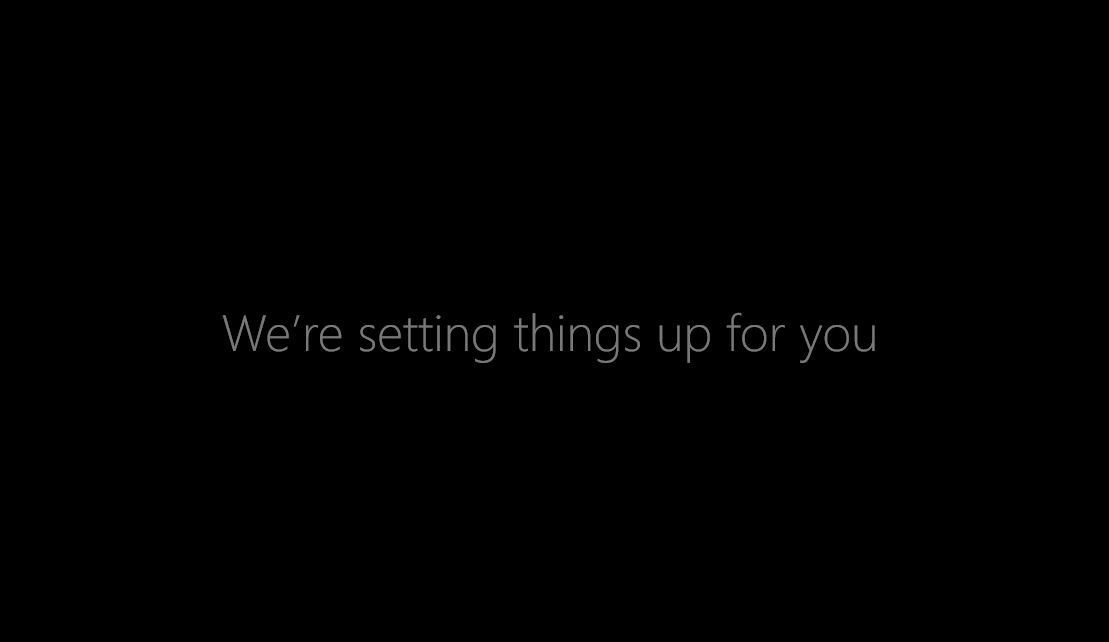
15.  Setup continues.

Image


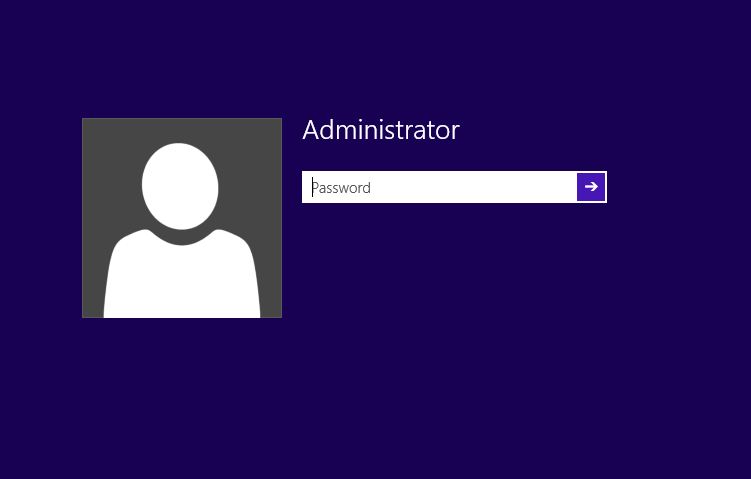
16. And here we are at the login screen.
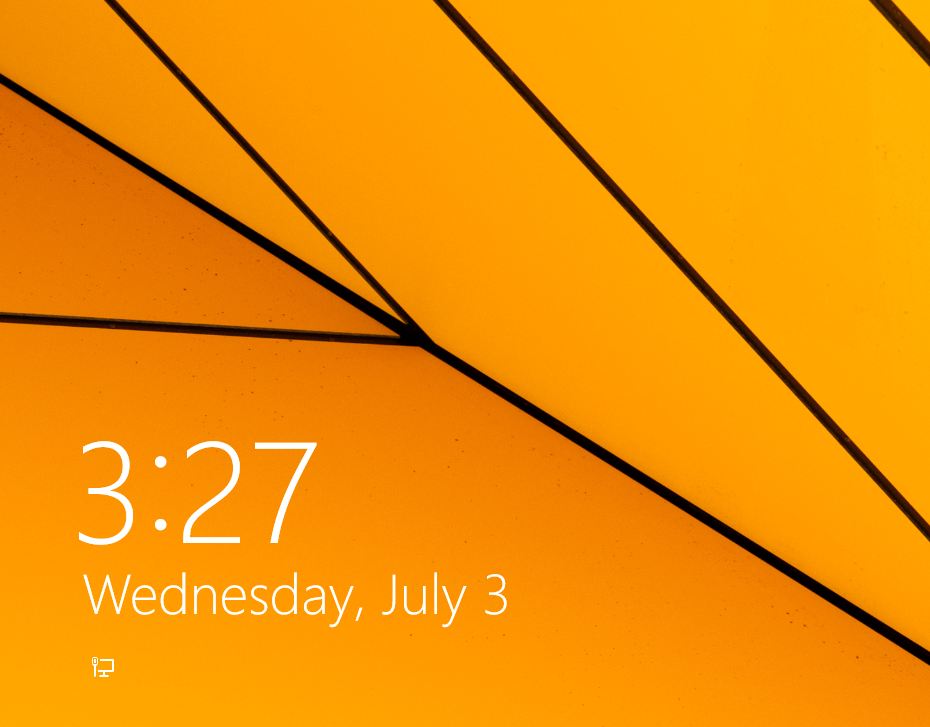
Image


17. Enter your password. 

Image


18. And we’re at the desktop. 

Image


A very simple upgrade indeed. The only thing I did not see during setup was the choice to user either a Microsoft account or a Local account. Since this is a preview, I am guessing that this option will be included in the RTM release of the Enterprise version. But that’s it. Go to http://technet.microsoft.com to get your copy of the Windows 8.1 preview and see what you think. 


Issues installing Windows 8 due to GPT partition style error

We recently received a new Lenovo Carbon X1 Touch to setup for an employee. It arrived with the Home version of Windows 8 installed, so we proceeded to install Windows 8 Enterprise. First of all, if you haven’t seen the new Carbon X1 Touch, it is a beautiful, slim, touchscreen laptop. But it does not have a built in NIC card. You have to attach an ethernet dongle if you want to be hard-wired in to your network. This device does not allow for booting up to our Microsoft Deployment server. There is an additional driver required in order to do this. So, we decided to install the OS via USB. I created a bootable Windows 8 USB stick (Using ISO to USB; http://www.isotousb.com) and booted from the USB.

All seemed well until it came time to choose the partition on which to install Windows. I chose the OS partition and received this error:

“Windows cannot be installed on this disk. The selected disk is part of the GPT partition style.”

I started troubleshooting by choosing to format the OS partition. That did not work as I received the same error message. So what to do but start from scratch. I delete all of the other existing partitions, formatted again and attempted to install the OS. This did not work either: 

I rebooted, chose Repair at the initial install screen, and opened the command prompt. I ran the following diskpart commands: 


  1. diskpart
  2. list disk
  3. select disk “x” (this is the disk on which you want to install Windows)
  4. clean
  5. create partition primary
  6. active
  7. format fs = ntfs quick
  8. assign
  9. exit

I rebooted and started the installation again. I chose the partition I needed and was able to install Windows 8. If you run into this error, just perform the diskpart steps above. That should resolve the issue.